Overview
Backing up email locally onto your computer can be achieved through creating a backup of said email accounts through the email clients. Horde webmail allows a simple way of doing this, but you must have a client that accepts .mbox files. Thunderbird is a free email client, offered by mozilla, that has a plugin available which allows the use of .mbox files.
Outlook cannot read mbox files. Thunderbird and horde webmail both work off of mbox exports. There are third party applications, which cost money, that have pst to mbox file converter capabilities.
Horde
Horde Webmail makes it simple to create a mbox file.
First login to webmail. Your webmail login URL info might not be webmail.domain.com but the example shown here is. Usually domain.com:2096 will be webmail. So for instance disc4life.com:2096 also works in this example.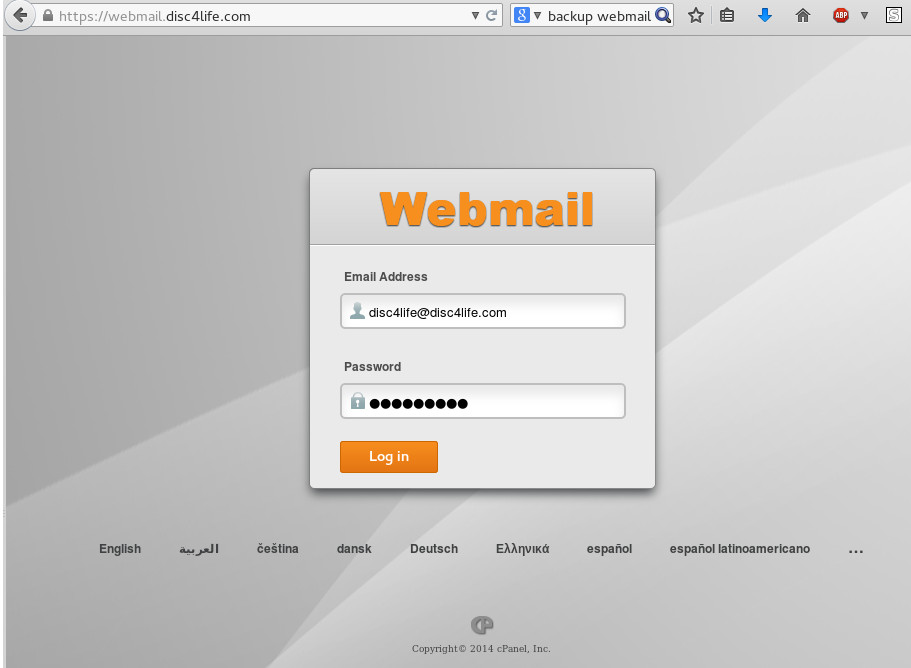
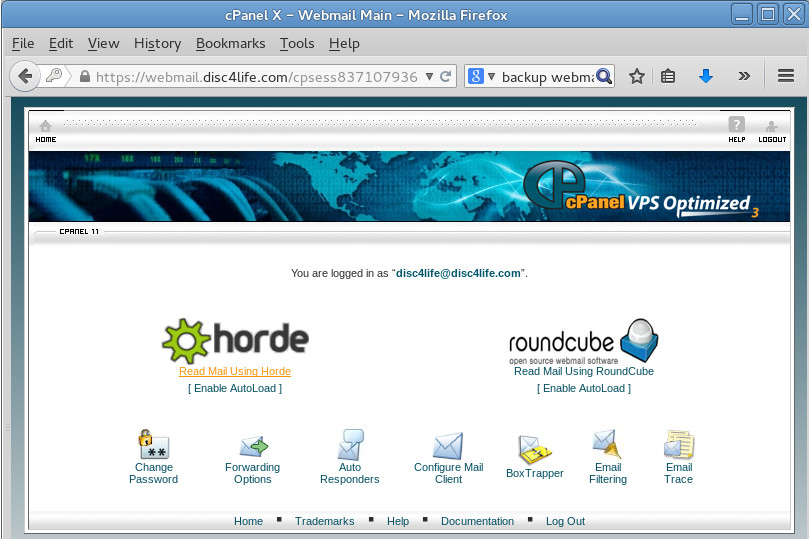
Second select Read Mail Using Horde.
Third right click on your Inbox and Select Export.
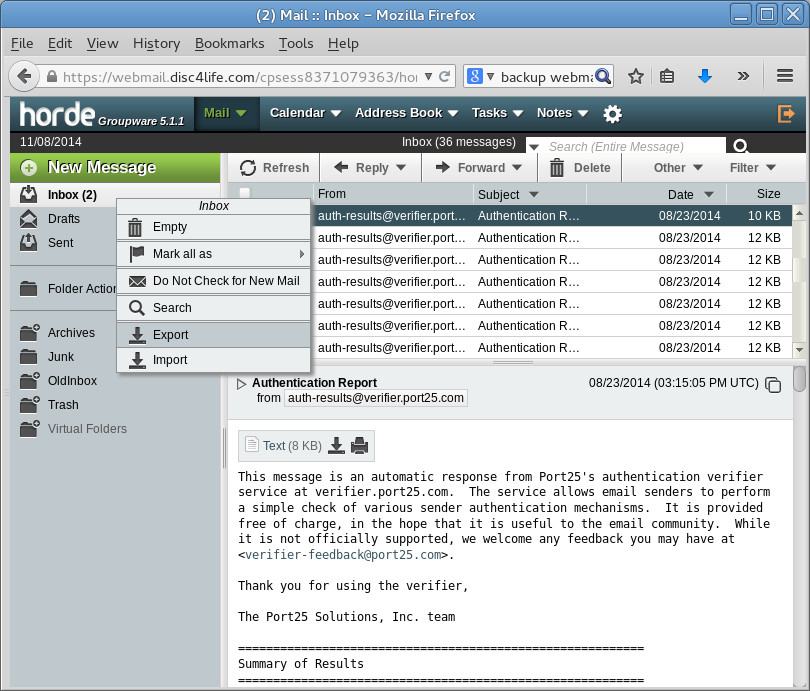
Fourth download and Save the file as INBOX.mbox.

Now that you have the mbox file downloaded you can upload / import to another webmail account or import through an email client. You have to do this for each folder that has email you wish to keep from the account.
Importing through webmail is done by selecting the file after right clicking inbox and selecting import in the horde mail client.
Imap Configuration for thunderbird
If you want you can configure your thunderbird client to connect to your account and generate the mbox file that way instead. We also need the plugin to import the mbox file.
Thunderbird Email client downloaded and configure for IMAP, not pop3.
For example my email is disc4life@disc4life.com and my email server incoming and outgoing is disc4life.com. I use SSL settings for IMAP port 993 and SMTP port 465. Authentication Required Normal Password Authorization.
You need the correct settings, IE account name, password, incoming and outgoing server, ports, authentication method for this to work on your server / account.
Thunderbird Plugin
If you are just storing your email locally in thunderbird, and you have download the mbox file through webmail, then you do not need to configure your account as shown above in Imap configuration.
First download the Import / Export Tools add-on. https://addons.mozilla.org/en-us/thunderbird/addon/importexporttools/ This allows you to archive email accounts through Thunderbird. Thunderbird does have archiving but that just works server side and not client side. You need this add-on to archive your email locally. This also allows use of mbox files.
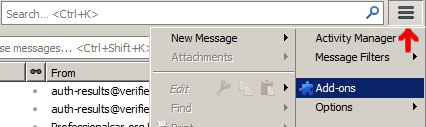
1. Once the tool is downloaded and you have Thunderbird open Click the Menu Button, indicated by the red arrow, and select Add-ons.
2.Goto Extensions and Click the Gearbox then Select Install Add-on from file…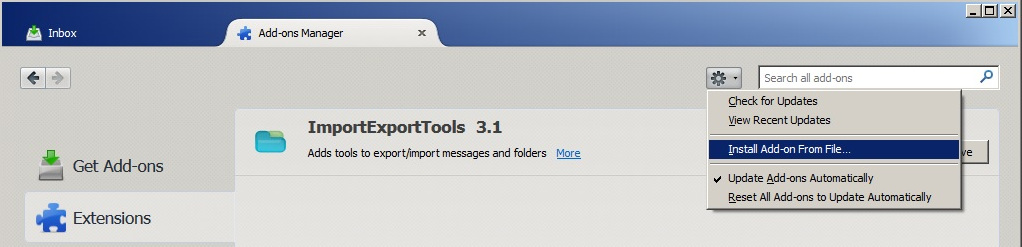
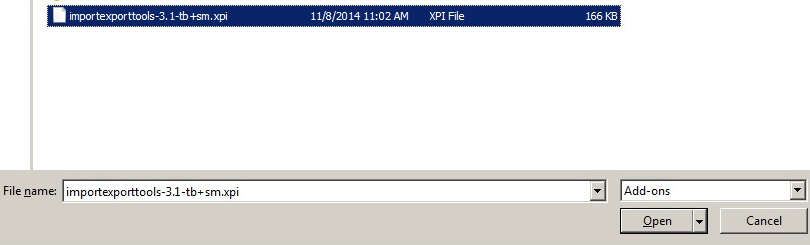
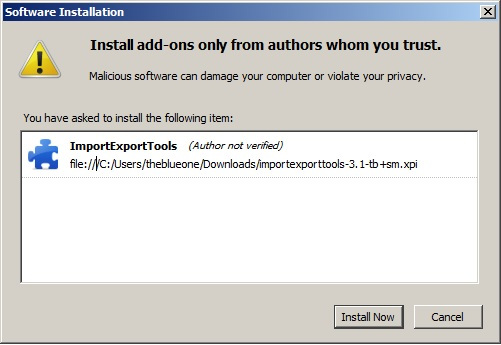
3.Navigate to the .xpi file you just downloaded and click Open, Select Install now on the next screen. Once the installation is complete restart Thunder Bird.
If you exported with webmail skip to #7 or importing.
Thunderbird backup creation
Exporting:
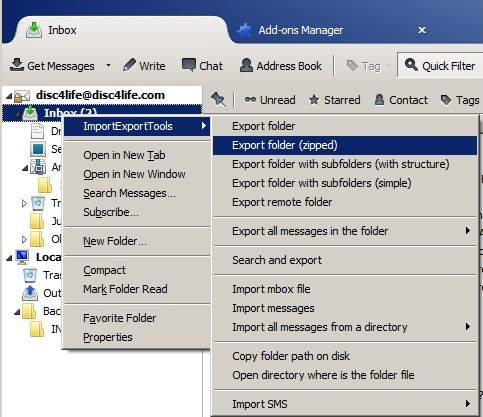
4.Select the Inbox / Folder you want to backup. Right click it and Select Export folder (zipped)
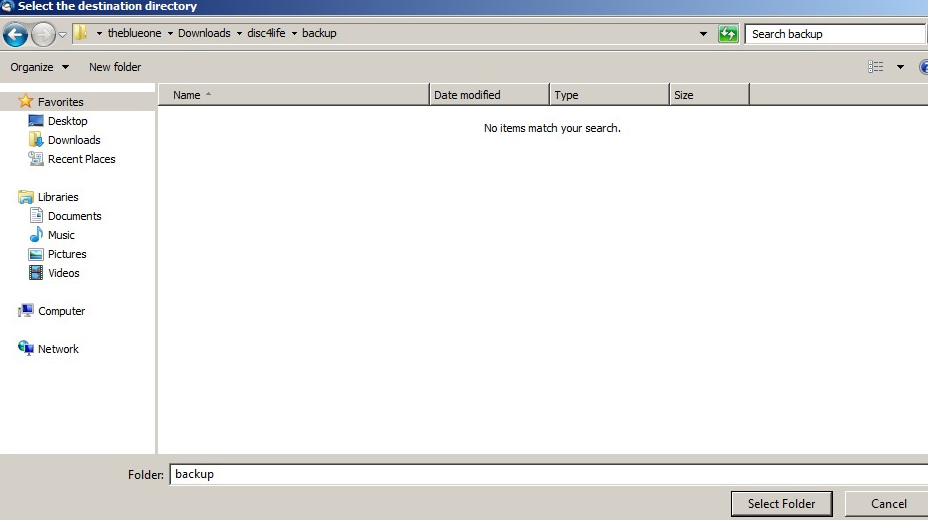
5. Select your backup destination. It will have the same name as the folder you are backing up and it will backup to your currently selected folder.
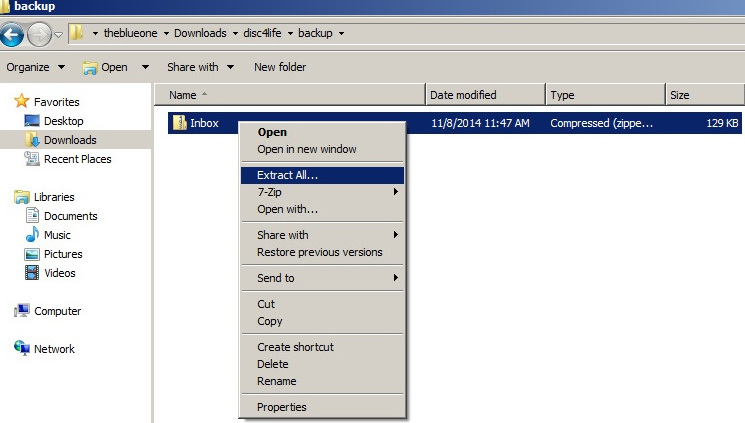
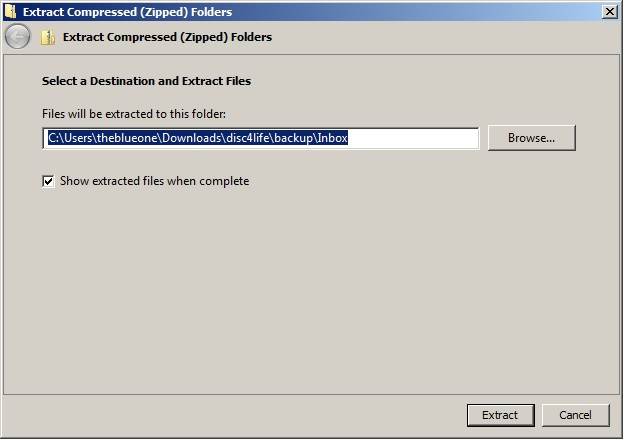
6.Navigate to the file and right click it, then Select Extract All… On the screen that pops up Extract to the current location.
Thunderbird backup import
Importing:
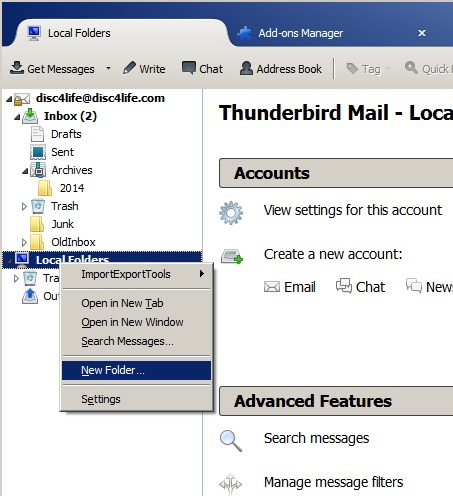
7. Go back to Thunderbird and right click on Local Folders. Select New Folder. Name that folder what ever you please, I choose BackedupEmail. Click Create Folder.

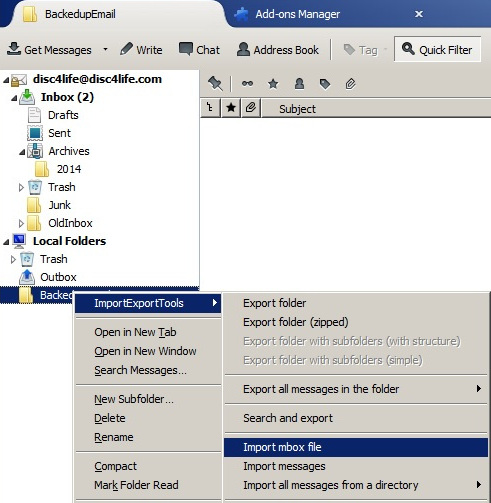
8. Right click your newly created folder and navigate ImportExportTools and select Import mbox file.
9. Leave the default selection of “Import directly one or more mbox files. Click Ok.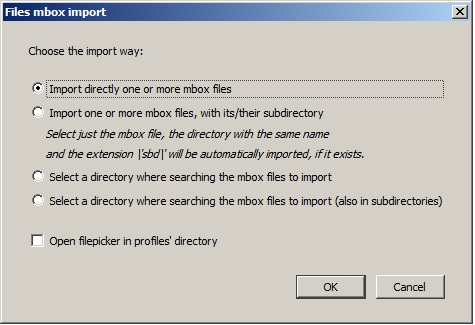
10. Navigate to your Extracted file, click it, and click Open.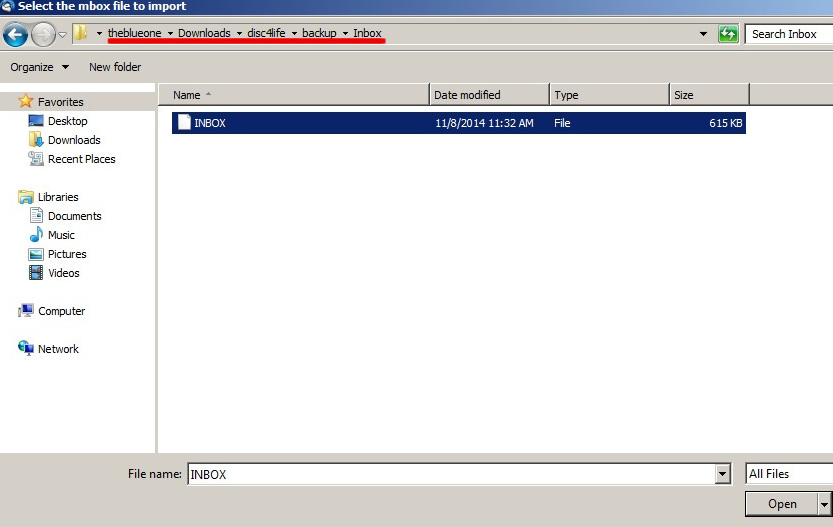
11. You can now view your emails under your Local Folders. Just double click on the BackedupEmail Folder and it should expand to show your Inbox that you just imported.

Microsoft Outlook
Outlook Instructions:
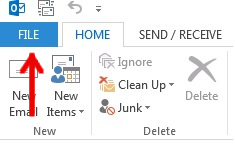
1. Click on File on the in the upper left hand Corner.
2. Select Open & Export. If you do not have that option just click Import / Export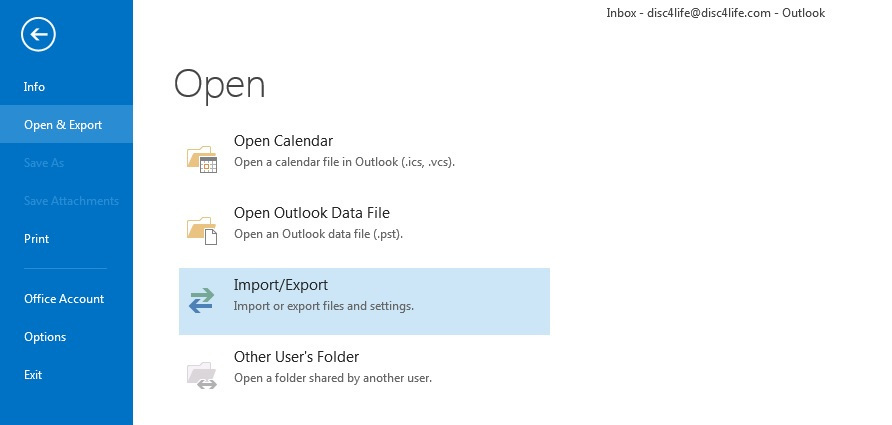
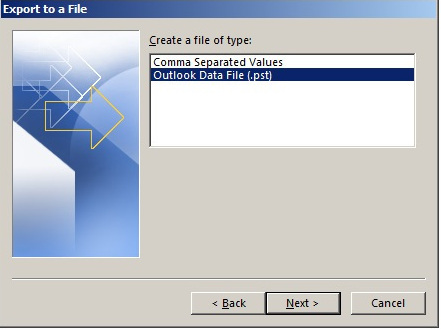
3. Select Export To a File, Click Next. Choose Outlook Data File (.pst), Click Next.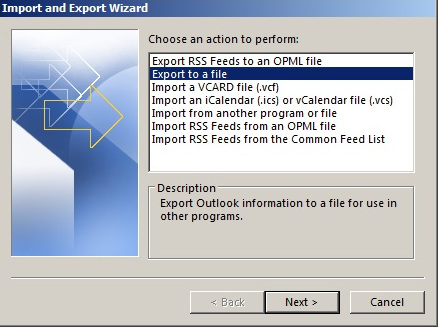
4. Select your account, this one happens to be disc4life@disc4life.com, Click Next.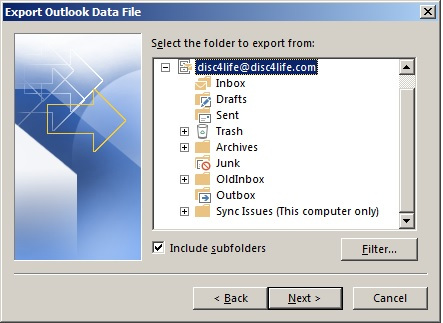
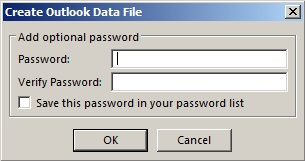
5. Choose a backup name, this one is disc4lifebackup.pst. Click Finish. It will bring up a password prompt. You can leave it blank or insert a password. I left mine blank.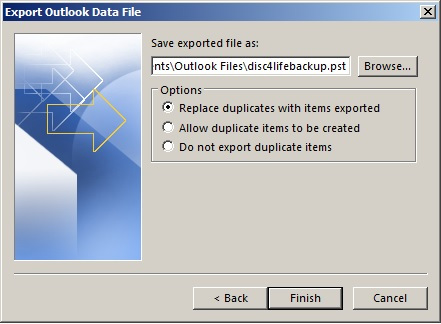
Congratulations you have just exported your account in Outlook! Now it is time to import locally.
Importing:
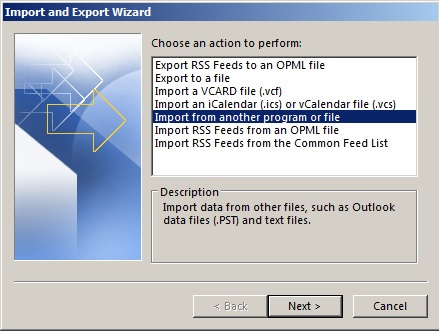
6. Now Open the Import / Export once again by Selecting File -> Open & Export -> Import / Export. Select Import From another program or file, Click Next.
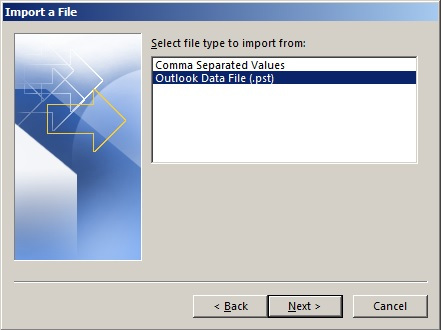
7. Select Outlook Data File (.pst), Click Next.
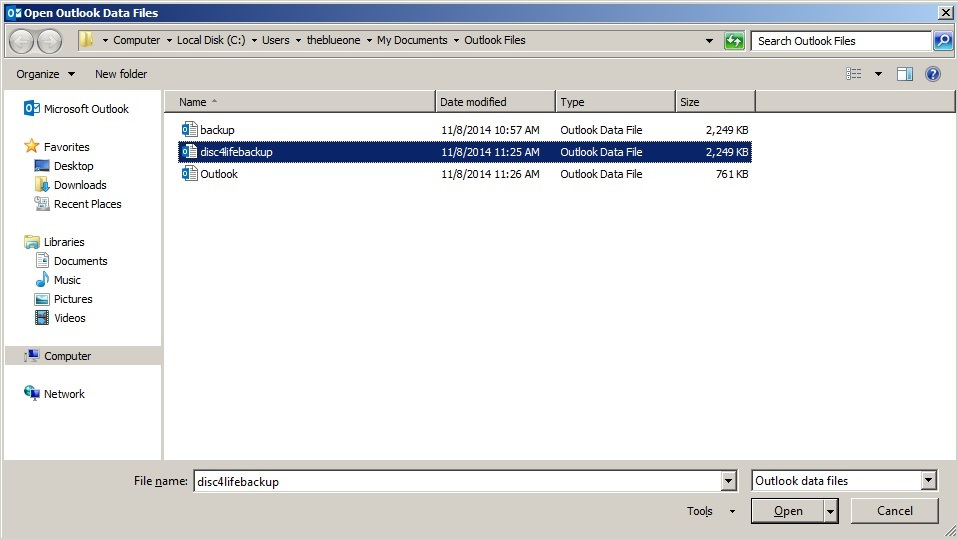
8. Either Input or Browse to the .pst file, this one is disc4lifebackup.pst, Click Next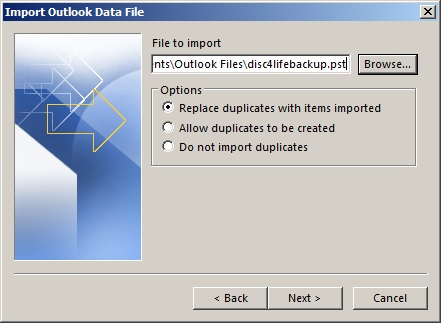
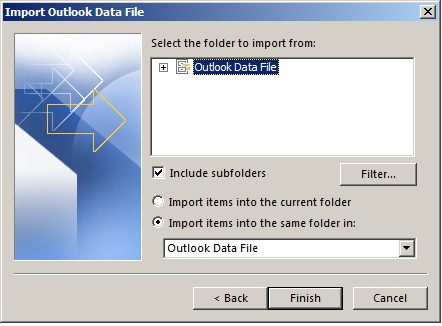
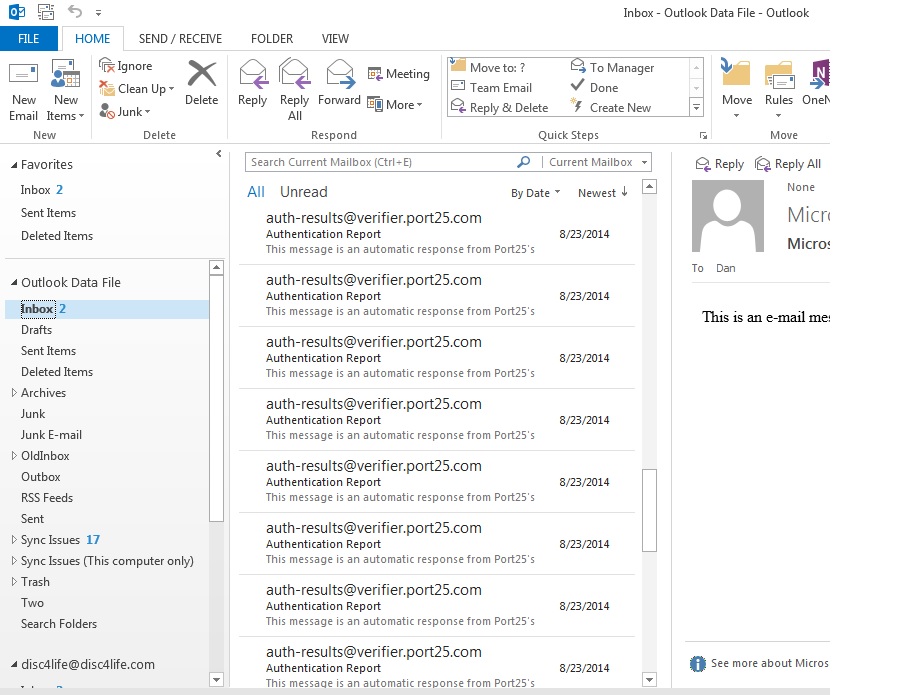
9. Select Outlook Data File, Click Finish. You can now view your emails under Outlook Data File. This means these emails are now local and not hosted on the server. You can now clean up your inbox on the server and be sure that your emails now have a recent backup.